


Refillable Pod Kit Setup: Filling, Priming, Charging and Routine Care
A refillable pod kit is simple once its parts are familiar, but the first setup deserves more attention than “fill and use.” Correct filling, wick saturation and charging reduce avoidable leaks, burnt taste and connection problems.
Designs vary, so keep the official manual beside you during setup. The steps below describe a general process, not a substitute for model-specific instructions.
Identify the Parts Before Filling
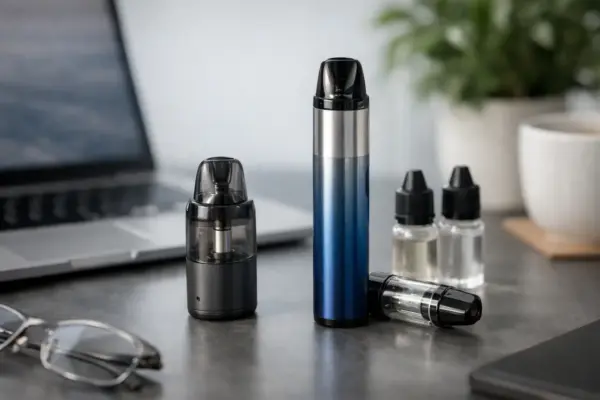
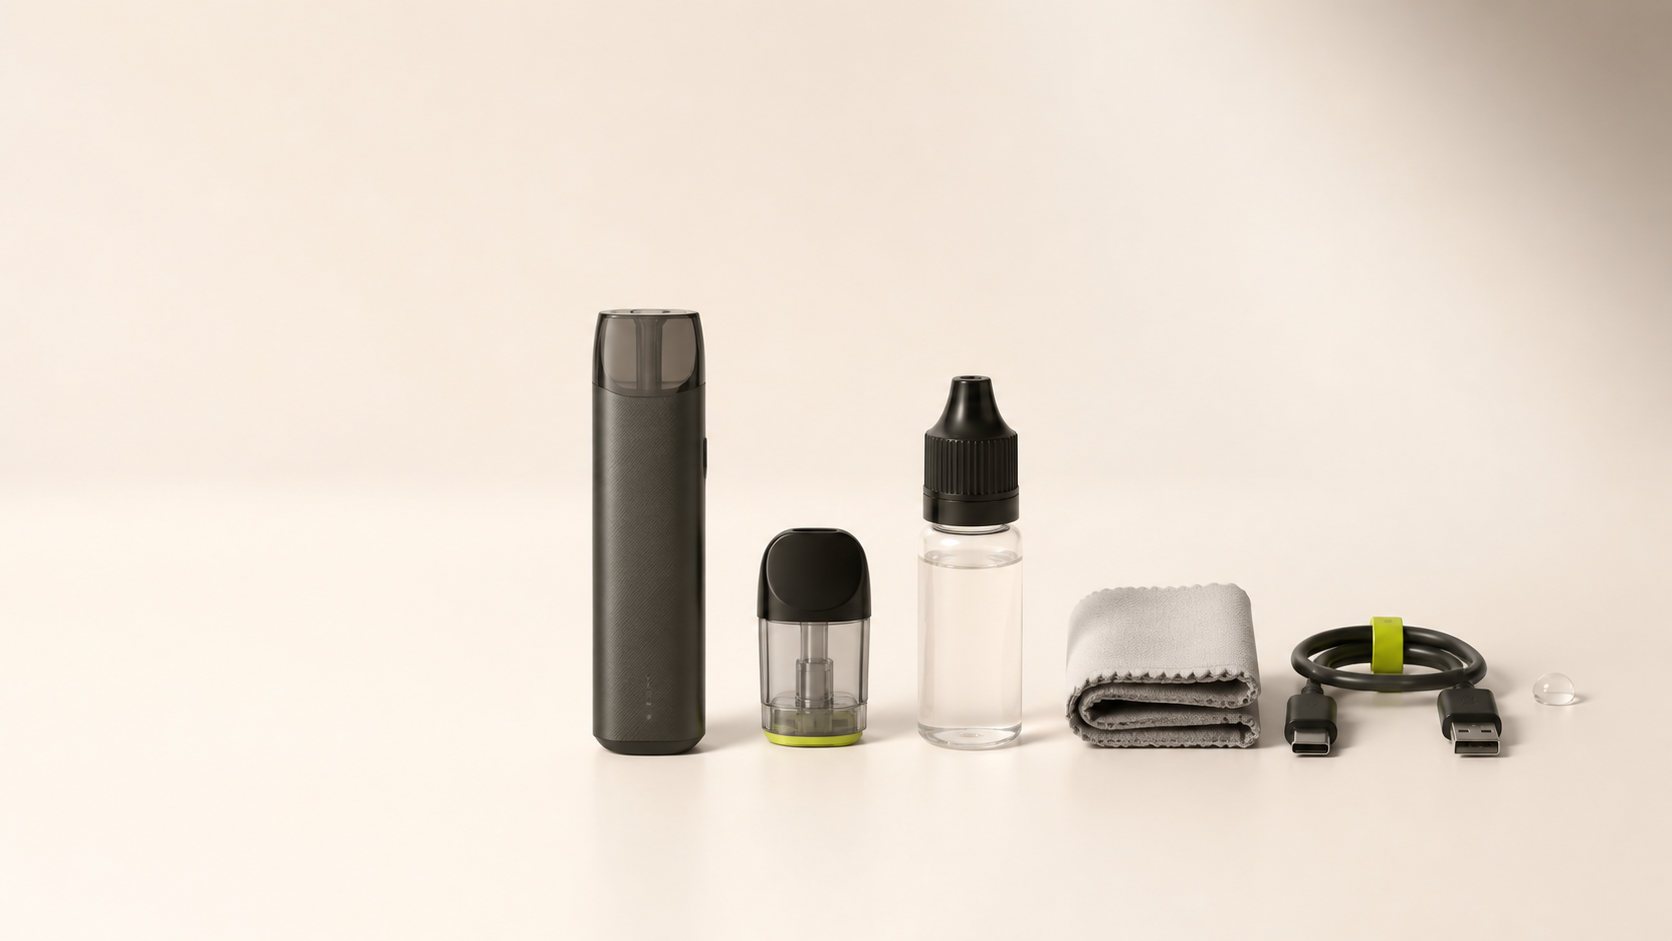
Lay out the device, pod, installed or separate coil, charging cable and manual. Confirm that the pod and coil are the exact versions specified for the device.
Inspect everything in good light. Do not use a component with cracked plastic, a torn seal, a bent connector or signs of impact damage. If the battery housing is swollen, split or unusually hot, stop and contact the seller or manufacturer.
Locate the following features:
- the filling port and its seal;
- the pod’s liquid window;
- the airflow control, if present;
- the device contacts;
- the charging port;
- the power or lock control, if present.
Not every visible opening is a fill port. In particular, avoid putting e-liquid into a central airflow tube.
Charge the Device Safely
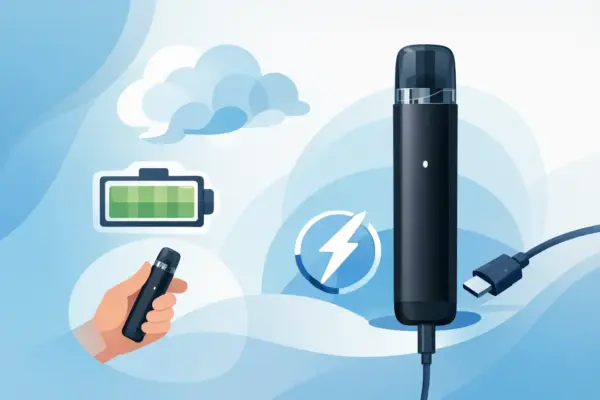
Follow the supplied charging instructions and use the cable, charger type and power source specified by the manufacturer.
Charge on a clean, flat, visible surface away from easily combustible materials. Do not cover the device, charge it overnight or leave it charging while unattended. Disconnect it when the manual or indicator shows that charging is complete.
Keep the charging port dry. If e-liquid has entered the port, do not connect a cable until the manufacturer has advised that the device is safe to use.
Fill the Pod Carefully
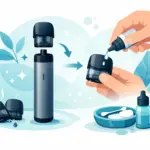
Remove or open the fill seal as shown in the manual. Hold the pod in the recommended orientation and insert the bottle tip only into the designated filling opening.
Fill slowly. Leave any air space required by the manufacturer and stop at a marked maximum line. Overfilling can force liquid toward the airflow path when the seal is closed.
Reseat the plug or cap fully, then wipe the outside of the pod with a clean, dry cloth. Check around the seal for immediate seepage.
E-liquid should remain in its original labelled bottle when not being used. Secure the cap and store it away from children and pets.
Prime a New Pod or Coil
Priming means allowing e-liquid to saturate the new wick before it is heated.
After filling, wait for the exact time stated in the manual. Manufacturer instructions commonly require a short waiting period, but the correct duration belongs to the specific pod or coil.
Some replaceable-coil designs permit a few drops of e-liquid on exposed wick openings before installation. Do this only when the official instructions call for it. Excess liquid can flood the coil or enter the airflow channel.
Do not repeatedly activate a dry coil to “test” it. If a new component is fired before saturation and develops a persistent burnt taste, replacement may be necessary.
Install and Start the Device
Insert the pod in the correct direction and make sure it is seated securely. A magnetic connection should still sit level and stable.
If the device has adjustable output, identify the operating range printed on the pod, coil or packaging. Begin at the lower end of that stated range. Never exceed it.
Set adjustable airflow to a moderate position for the first check. For button-operated devices, confirm the lock and activation sequence. For draw-activated devices, do not press or modify components that are not intended as controls.
The first few activations should be gentle and spaced apart. Stop if you notice a persistent burnt taste, strong gurgling, liquid reaching the mouthpiece or leakage around the pod base.
Build a Simple Care Routine
Before each use
Check the liquid level and pod condition. Make sure airflow openings are clear and the device is not unusually hot or damaged.
When refilling
Wipe the mouthpiece and exterior. Inspect the fill plug for distortion. Keep liquid away from the central airflow path and charging port.
At regular intervals
Remove the pod according to the manual and wipe condensation from the pod base and device contacts with a clean, dry cloth. Do not scrape contacts with metal tools or push material deep into the device.
When performance changes
Replace the pod or coil when the manual recommends it or when persistent burnt taste, reduced flavour, reduced vapour or repeated flooding indicates that the consumable is worn.
There is no reliable universal rule based only on days or refill count. Liquid composition, device output and usage pattern all affect component life.
Storage and Travel
Turn off or lock the device when it is not in use. Store it upright where practical, in a cool, dry place away from direct sunlight, extreme temperatures and children or pets.
Do not leave the device loose with keys, coins or other metal objects. Protect the mouthpiece and follow carrier and local rules before travelling. Batteries and vape devices may be subject to specific transport restrictions.
Avoid These Common Setup Errors
- Filling through the airflow tube.
- Using a pod that merely looks compatible.
- Activating a dry new wick.
- Exceeding the marked power range.
- Leaving the fill seal partly open.
- Charging a wet, damaged or unusually hot device.
- Cleaning contacts with water or metal objects.
- Attempting to open an enclosed battery housing.
A careful setup takes only a few extra minutes and gives you a clear baseline. If problems appear later, you can troubleshoot from a known correct fill, prime and charging process rather than guessing.
Products containing nicotine are intended only for adults of legal age.
Related reading: For the wider daily-use context behind these setup steps, review the practical guide to refillable pod kits.