


Pod Replacement Steps for a Cleaner Daily Vape
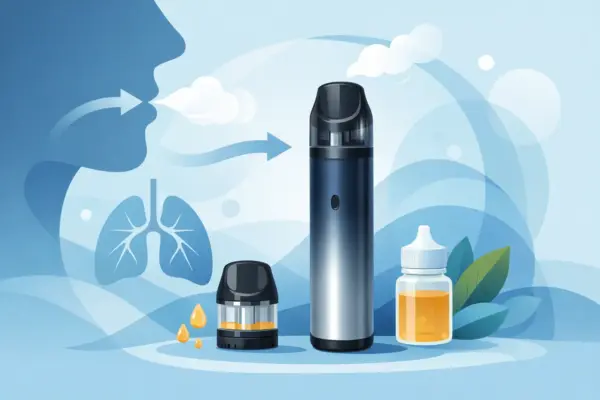
A pod rarely fails all at once. Flavor starts to feel muted, the draw changes, or a refill no longer tastes as clean as the first. Knowing the right pod replacement steps keeps a refillable device performing the way it was designed to: compact, consistent, and ready for the everyday rotation.
For adult users of refillable pod kits, replacing a pod is a small maintenance habit with a noticeable payoff. A fresh pod can restore clear flavor and a smooth mouth-to-lung draw without replacing the entire device. The exact pod design varies by kit, so the product instructions always come first, but the process follows a dependable pattern.
Know When It Is Time to Replace the Pod
Replacement is not based on a fixed number of days. E-liquid type, nicotine strength, how often you vape, wattage, and airflow all affect pod life. A lightly sweetened liquid used at a moderate setting may keep a pod in good condition longer than a richer, sweeter flavor used frequently at higher output.
Watch for a change in performance rather than waiting for the pod to stop working completely. Four signs usually point to replacement:
- Flavor has become dull, distorted, or noticeably burnt.
- Vapor production has dropped even when the battery is charged and the pod contains e-liquid.
- The draw feels unusually tight, gurgly, or inconsistent.
- The pod leaks repeatedly after its fill port and seal have been checked.
A burnt taste is the clearest signal. Continuing to use a scorched coil will not improve it with another refill. Replace the pod, then start fresh with proper priming.
If flavor is simply less intense, check the basics first. Confirm that the pod has enough e-liquid, wipe away condensation from the pod contacts, and make sure your device is charged. On an adjustable kit, a setting that is too high for the installed pod can shorten coil life, while a very low setting can make vapor feel thin. Match the device output to the pod’s stated range where applicable.
Pod Replacement Steps for Refillable Kits
Set the device on a clean, dry surface before you begin. Keeping e-liquid away from the battery bay and electrical contacts helps preserve reliable connection and auto-draw performance.
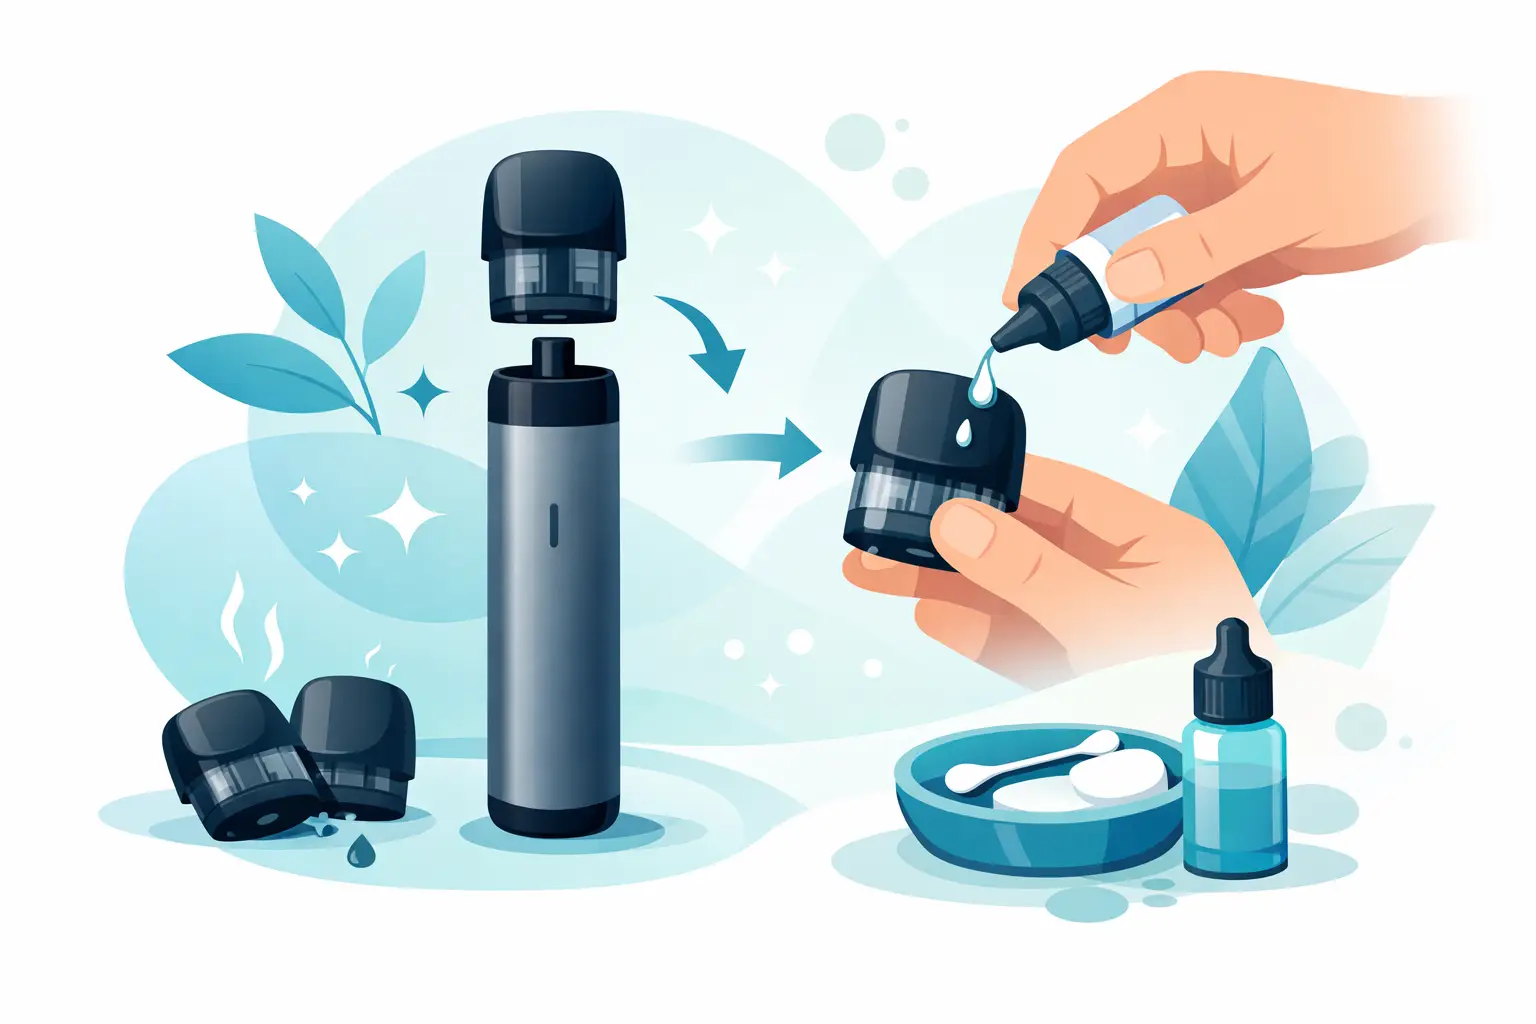
1. Remove the old pod carefully
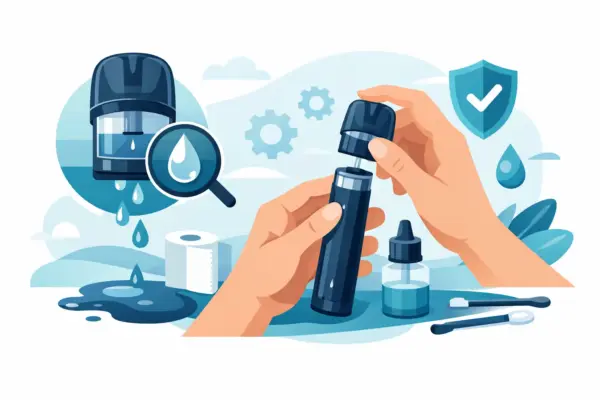
Take the pod out of the device using the grip points built into the pod or battery. Do not pull aggressively on a mouthpiece or force the pod from its housing. If a pod feels stuck, inspect the area for dried e-liquid or debris and clean it with a dry, lint-free cloth.
Once removed, look at the base of the pod and the device contacts. A small amount of condensation is common, especially with frequent use or temperature changes. Wipe both surfaces dry before installing the replacement. Never rinse the battery section under water.
2. Confirm pod compatibility before opening it
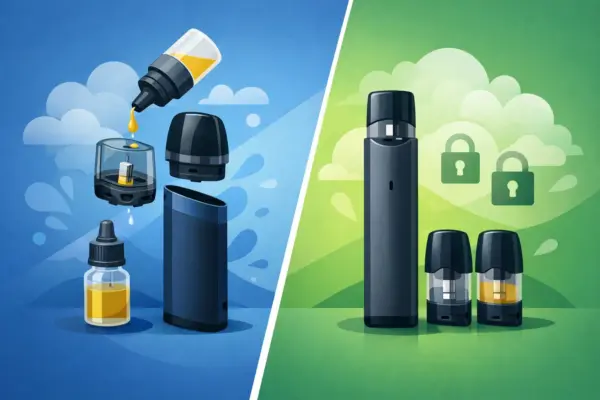
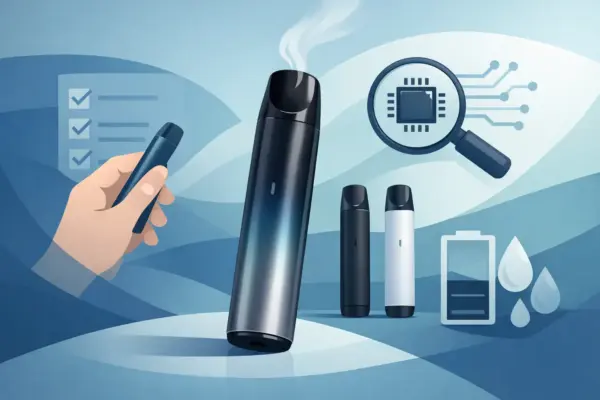
A replacement pod must match the device family and intended resistance range. Pods can look similar while using different magnets, airflow geometry, capacities, or coil specifications. The correct pod should seat evenly, connect securely, and match the performance range listed for your kit.
This matters most for devices with adjustable wattage or airflow. A pod intended for a restrained mouth-to-lung setup will generally suit a lower-power range and a tighter draw. A more open pod may be designed for different output and airflow behavior. Use the pod specification, not appearance alone, to guide the choice.
3. Fill the new pod without overfilling
Locate the fill port and open only the designated silicone plug or cap. Keep the pod upright, then place the e-liquid nozzle into the fill opening. Avoid the center airflow channel, which can cause flooding, gurgling, or leakage if liquid enters it directly.
Fill slowly and stop below the maximum fill line or leave a small air gap if no line is visible. The extra space allows the seal to close properly and gives the liquid room to move as temperature changes. Close the plug firmly, making sure it sits flat and fully sealed.
For a 2 ml pod, a narrow nozzle and steady hand make filling cleaner. If e-liquid reaches the outside of the pod, wipe it away before placing the pod into the device. E-liquid should also be stored securely and kept away from children and pets.
4. Prime the coil before the first draw
A new pod needs time for e-liquid to saturate the internal wick. Leave the filled pod upright for approximately five to ten minutes before using it. This is especially useful when the pod is brand new, the e-liquid is thicker, or the room is cool.
Skipping this pause can create a dry hit before the wick is fully saturated. One dry hit can permanently affect flavor, even if the pod was filled correctly. Patience at this stage protects the part of the pod that does the work.
5. Install the pod and check the fit
Insert the pod into the battery until it sits flush and feels secure. Most pod kits use a magnetic connection or a firm push-fit design. There should be no major gap between the pod and device body.
If your kit has a display, check that it recognizes the pod as expected. On auto-draw devices, take a gentle first puff after priming rather than pulling hard. For button-activated devices, follow the activation steps specified for that model. A few measured draws help the new coil settle in without overheating it.
Set Airflow and Output With the Pod in Mind
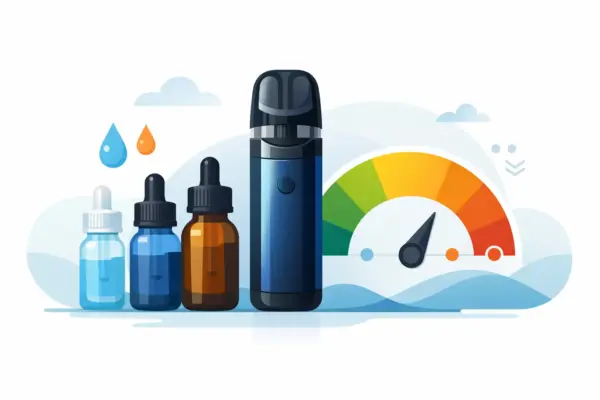
A new pod is also a good moment to revisit your device settings. On a compact kit with adjustable airflow, a narrower opening creates a more focused mouth-to-lung draw. Opening airflow typically makes the draw looser and can change how the flavor presents. Neither setting is universally better. It comes down to the pod design and your preferred feel.
Adjustable wattage calls for the same restraint. Start within the recommended range for the pod, especially after a fresh fill. Higher output can produce warmer vapor but uses more e-liquid and may reduce pod lifespan. A moderate setting often gives a more controlled daily experience, particularly with nicotine-salt e-liquid.
If you are changing flavors, use a new pod when you want a clean transition. Strong profiles can remain in the wick after multiple refills, so topping a bright citrus blend with a creamy or jam-inspired flavor may create an unintended mix. Keeping separate pods for distinctly different flavor profiles is practical if you switch often.
Avoid the Habits That Shorten Pod Life
Most premature pod issues come from a few repeatable mistakes. Letting e-liquid run too low is one of the most common. Refill before the visible liquid level falls below the wick openings. When the wick cannot stay saturated, heat can damage it quickly.
Chain vaping can also outpace the wick’s ability to pull in more e-liquid. A brief pause between draws gives the coil time to re-saturate. This is more relevant with thicker liquids, higher power settings, and compact pods with smaller wick channels.
Finally, do not leave a filled device in extreme heat, direct sun, or a hot vehicle. Heat can thin e-liquid, increase pressure inside the pod, and make leaks more likely. Keep the kit upright when possible, especially after filling or during travel.
What to Do With a Used Pod
Used pods should not be reused once the coil is burnt or performance remains poor after basic cleaning. Empty any remaining e-liquid according to local requirements, then dispose of the pod in line with local waste guidance. Because pods contain mixed materials and may retain nicotine residue, they should be handled thoughtfully rather than left where children or pets can access them.
Before inserting the next pod, give the device bay one more dry wipe. It takes seconds, keeps the connection clean, and makes each replacement feel less like maintenance and more like a reset. A fresh pod, the right setting, and a color-forward kit ready at hand make refillable vaping feel considered from the first draw onward.